As someone looking at getting into the field of cybersecurity I think it is essential to have some kind of home lab built out to be able to practice and showcase your practical skills. On this note, there are already a ton of different resources out there for all kinds of labs so choosing where to start has been hard. Thankfully, there is a YouTube channel that I have been following with amazing resources called MYDFIR. For this lab I have followed his guide and look to utilize this for future projects.
The Objective
When looking for a home lab project to go off of I wanted to make sure that it included a couple specific things. I needed it to have a Windows Server with Active Directory Domain Services, a server that would have a Security and Event Management (SEIM) service running and a virtual machine running Kali Linux. With these systems in place I could achieve the objective of having a place to continue to learn basic IT (Operating systems, AD Administration, networking) and cybersecurity (SEIM, AD Security, Kali Linux penetration testing).
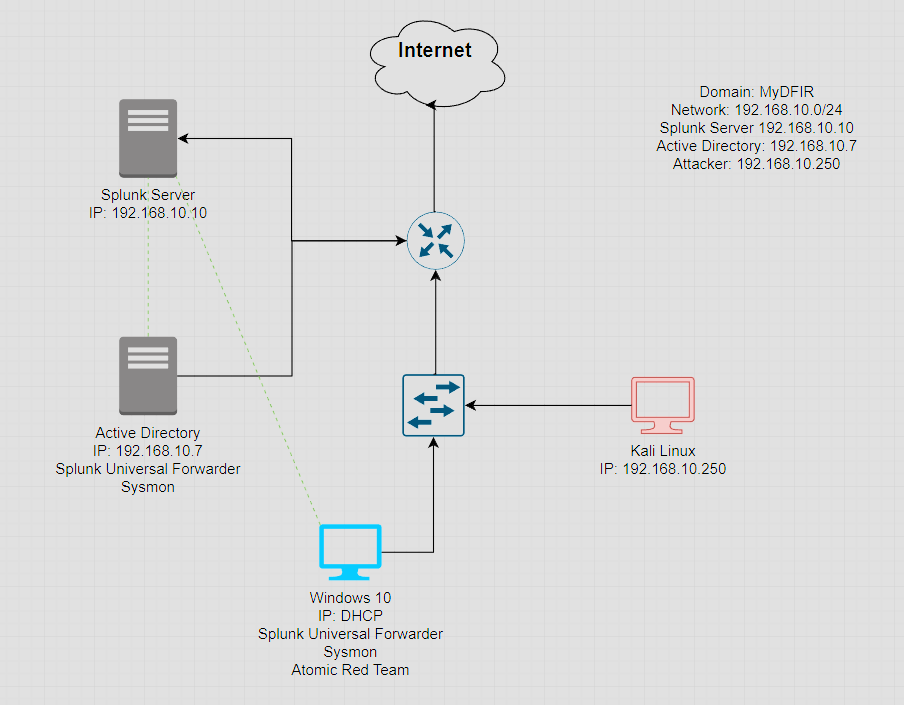
In the image above it shows how all the systems will be networked together and what needs to be installed and setup. There are quite a few steps so lets get started!
As a word of caution, I did have to end up upgrading the RAM in my laptop from 16GB to 32GB to be able to run all the machines at once without each of them having a lot of stutter and lag. While this in itself was a fun little learning experience for me, it was not really mentioned in the videos have much RAM would actually be needed to have everything running at the same time.
The Setup
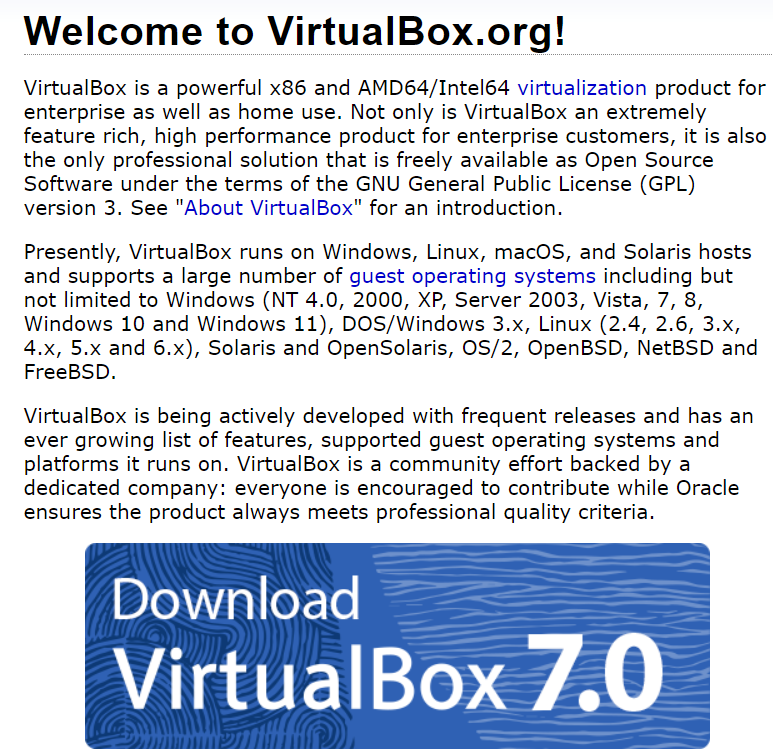
In this first part I am going to walkthrough installing the necessary virtual machines. As it shows in the diagram we need to install and configure four different virtual machines. To do so first we need to install Virtual Box as our virtualization software. Fortunately, all we need to do for this is install the software and its good to go. Check out VirtualBox.org and click the download button to get started and follow the prompts.
The next step we'll do is get our Windows 10 image. For this we will go to the official Microsoft website for software downloads and click the "Download Tool now" button to install a tool to create an ISO file of the Windows 10 operating system.

Once that is downloaded we can create our virtual machine using the ISO file.

In Virtual Box we can click "Machine" at the top and "New" and you should be presented with the above prompt. All the settings can be default except you want to make sure sure the machine has at least 2GB of RAM but if your host computer can spare it you probably want to change it to 4GB.
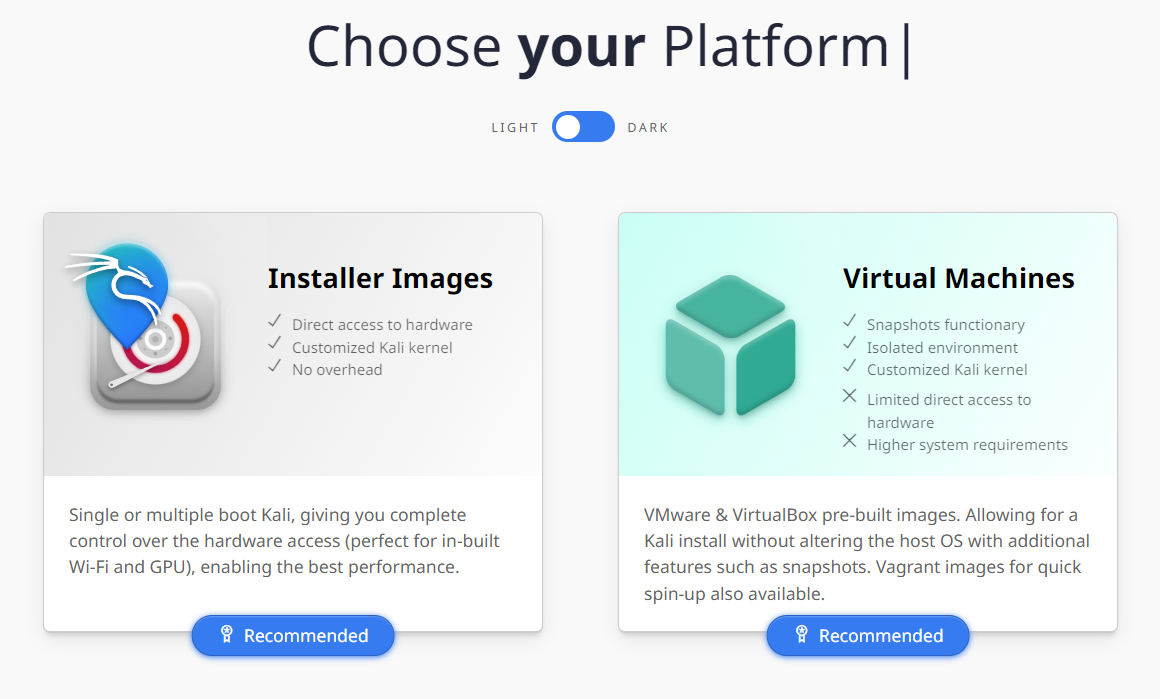
Next we can install our Kali Linux machine. This is basically the same process for the download an install as the Windows machine. For this we navigate to the Kali Linux download site to choose the option that best suits our needs, which is the Virtual Box ISO. Just click on the Virtual Machines button then click the button for 64 bit version of Virtual Box. After the download is complete all we need to do is open the folder where it was downloaded to and double click the ".vbox" file. This will automatically import and setup the VM inside Virtual box.
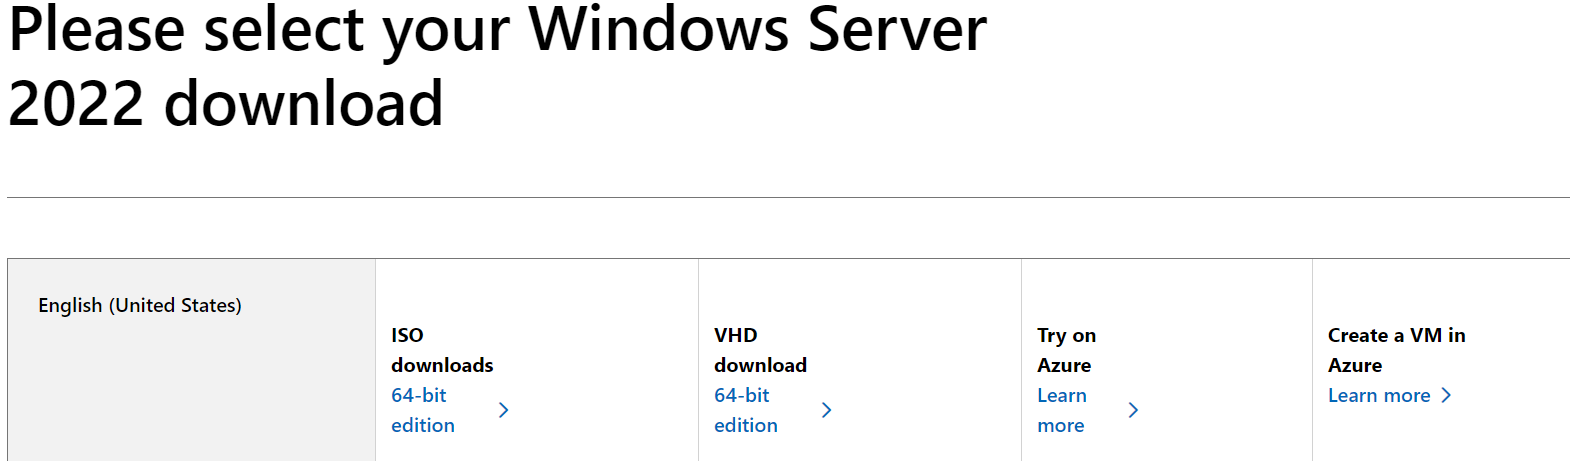
For the next part we need to download the Windows Server that will be used to install and run Active Directory Domain Services on. For this we will head over to the Windows Server Evaluation center to get our ISO for the 2022 version. Clicking the 64-bit edition button will start the download. Once downloaded we will create a new VM in Virtual Box.
Instead of just the defaults when setting up, there are a couple changes needed. Preferably you want to have 4GB of RAM for this machine, at least for the initial setup. Also, there is a checkbox for "Skip unintended installation", make sure that is clicked or you might run into some issues when going through the setup after starting the machine. Again, I will be going through the setup of ADDS on this machine in a later post but that will be the next step.

Finally we need a server for Splunk to run on and that is where Ubuntu Server comes in. In another similar step to the last couple installations, we will go to the Ubuntu website and download it. For the settings of this particular VM we do want to make it a little better specs since it will be doing a lot more work. Like the Windows Server, be sure to check the box for "Skip unintended installation". When creating the VM, put the RAM up to 8GB and 2 cores of CPU. Also it would be good idea to have at least 100GB of storage space on the disk.
Next Steps
In the next part I want to go through quickly how to install the services needed on these machines and how to network them together so they can actually talk to each other. After all that then we can do the fun part of hacking and defending them.
Thank you for reading, I hope this was informative at the very least and a good guide for someone else to set this up at most. If you do want to go through the whole lab walkthrough in more depth I would recommend the MYDFIR YouTube channel I linked at the top.